Anyway I happened to stop in at Michael's while passing through a neighboring town and guess what I found!!!!!! Michaels carries the Martha Stewart Decopodge!!!!! Yay! I snatched that bottle up and did a mini happy dance (inside my head of course) as I picked out my glitter. This event gets even better when I got to the check out and found out that the 50% off coupon actually worked on Martha Stewart products that week (they usually are excluded around here).
I was all to eager to get started on my mugs once the kiddos were tucked into bed for the night, because lets face it, three kids and glitter would not be pretty ... well I guess they WOULD be pretty, but not in the way I would appreciate!
Because I'm a fan of the good old redneck Mason jars, I decided to glitter up some of those bad boys! Want to make some for yourself? Run, RUN to Michael's and pick up some of the Martha Stewart decopodge in the pink bottle (but not the stuff that is tinted pink!) and either check out white house black shutters or follow along below. I pretty much followed her verbatim except for swapping out a mug with a mason jar and I added a second coat of glitter because, why not!
First, gather up your supplies. I used the case my Mason Jars came in and I found it worked really well for collecting excess glitter and because the corners don`t touch it also made a wonderful funnel for replacing excess glitter!
.JPG)
Make sure to clean the surface really well with rubbing alcohol before you start, you don`t anything in the way of you glitter sticking!

Next, tape off where you do not want the glitter to go, unless the free form line is the look you love, then by all means, go with your heart! I used Frog Tape because that`s what I had already, I`m sure regular making tape would work just fine.

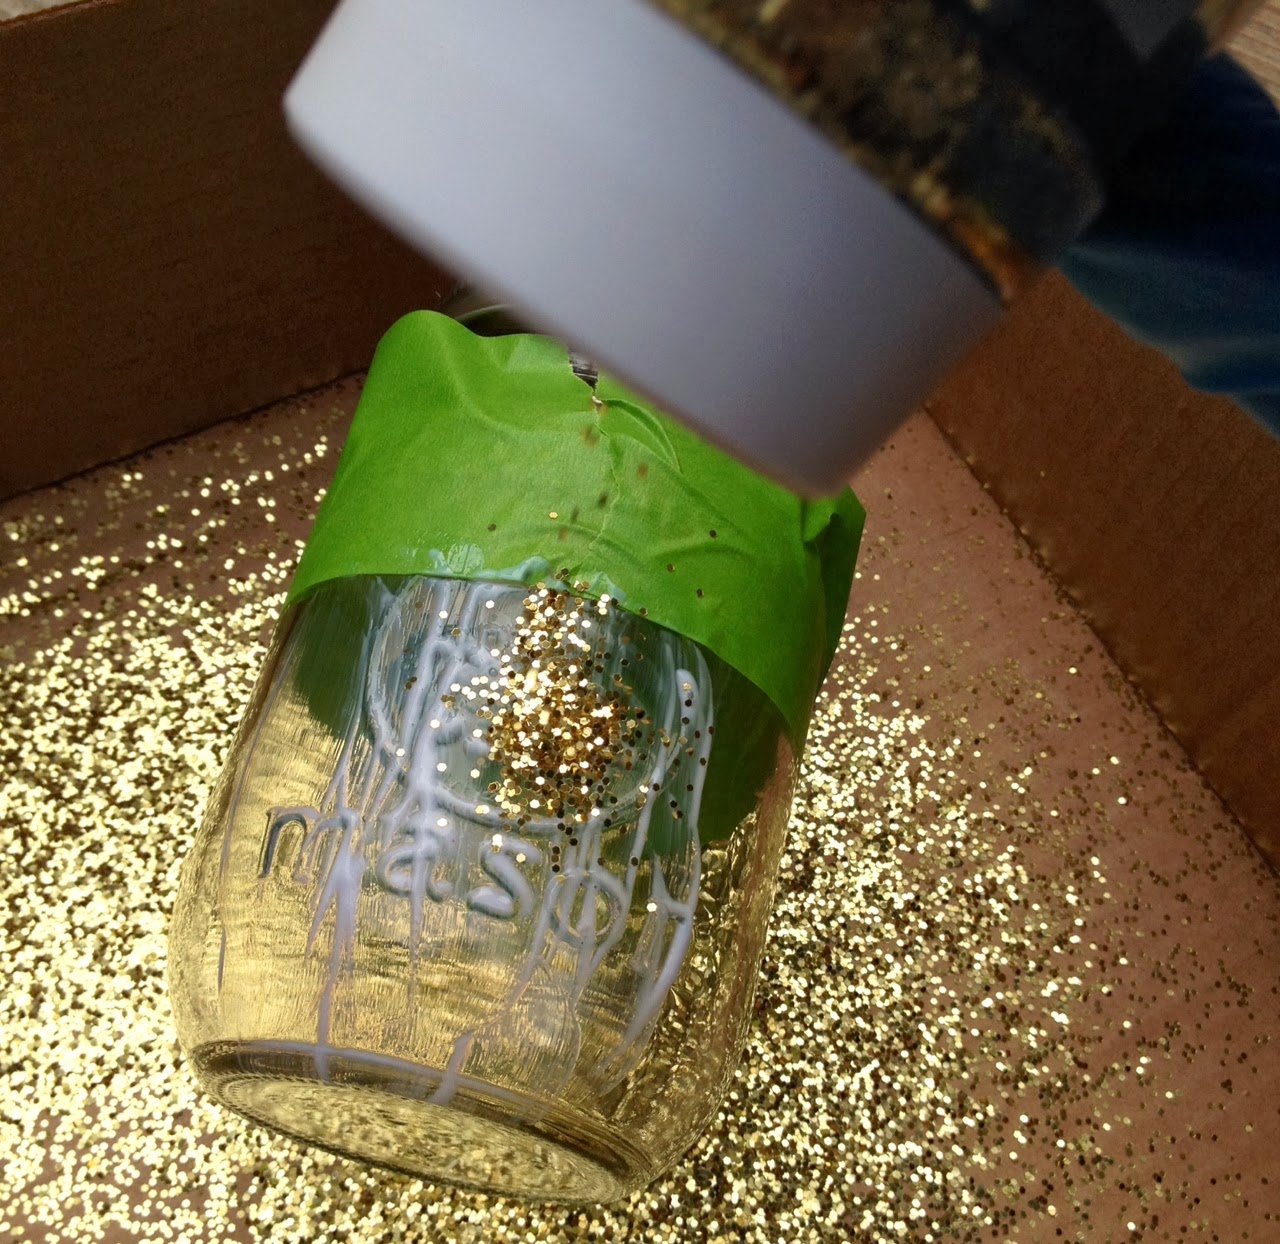
Now decopodge that jar up! I used a fairly thick coat after the first one, I`m not sure that the thickness really made a difference (I had hopes more glitter would stick), then pour on your glitter.
Now carefully peel off the tape, you don`t want the decopodge to dry on it.

Now repeat, repeat, repeat! And set the little beauties aside to dry

After letting my first coat dry for a few hours I went back and applied another coat of docopodge and glitter because I felt it was a little too thin after brushing off the excess. I then added my two sealing coats (with overnight drying between them). Honestly, aside from finding the proper decopodge in the first part, the hardest part of this project is waiting the 28 days for it to cure!
Go ahead make yourself a glitter mug, I`m sure you`ll love it!
Oh and thanks again to Ann Marie for the inspirational tutorial in the first place!
No comments:
Post a Comment