Tuesday 31 December 2013

Winter "One"derland Party

As I said in my previous post, my littlest princess turned one in November and we celebrated with a Winter "One"derland Party.  I really thought I took TONS of photos to share with you all, out it turns out, I did not ... sorry!  I do have some which is better than none I guess! 

First up, the table centrepiece...
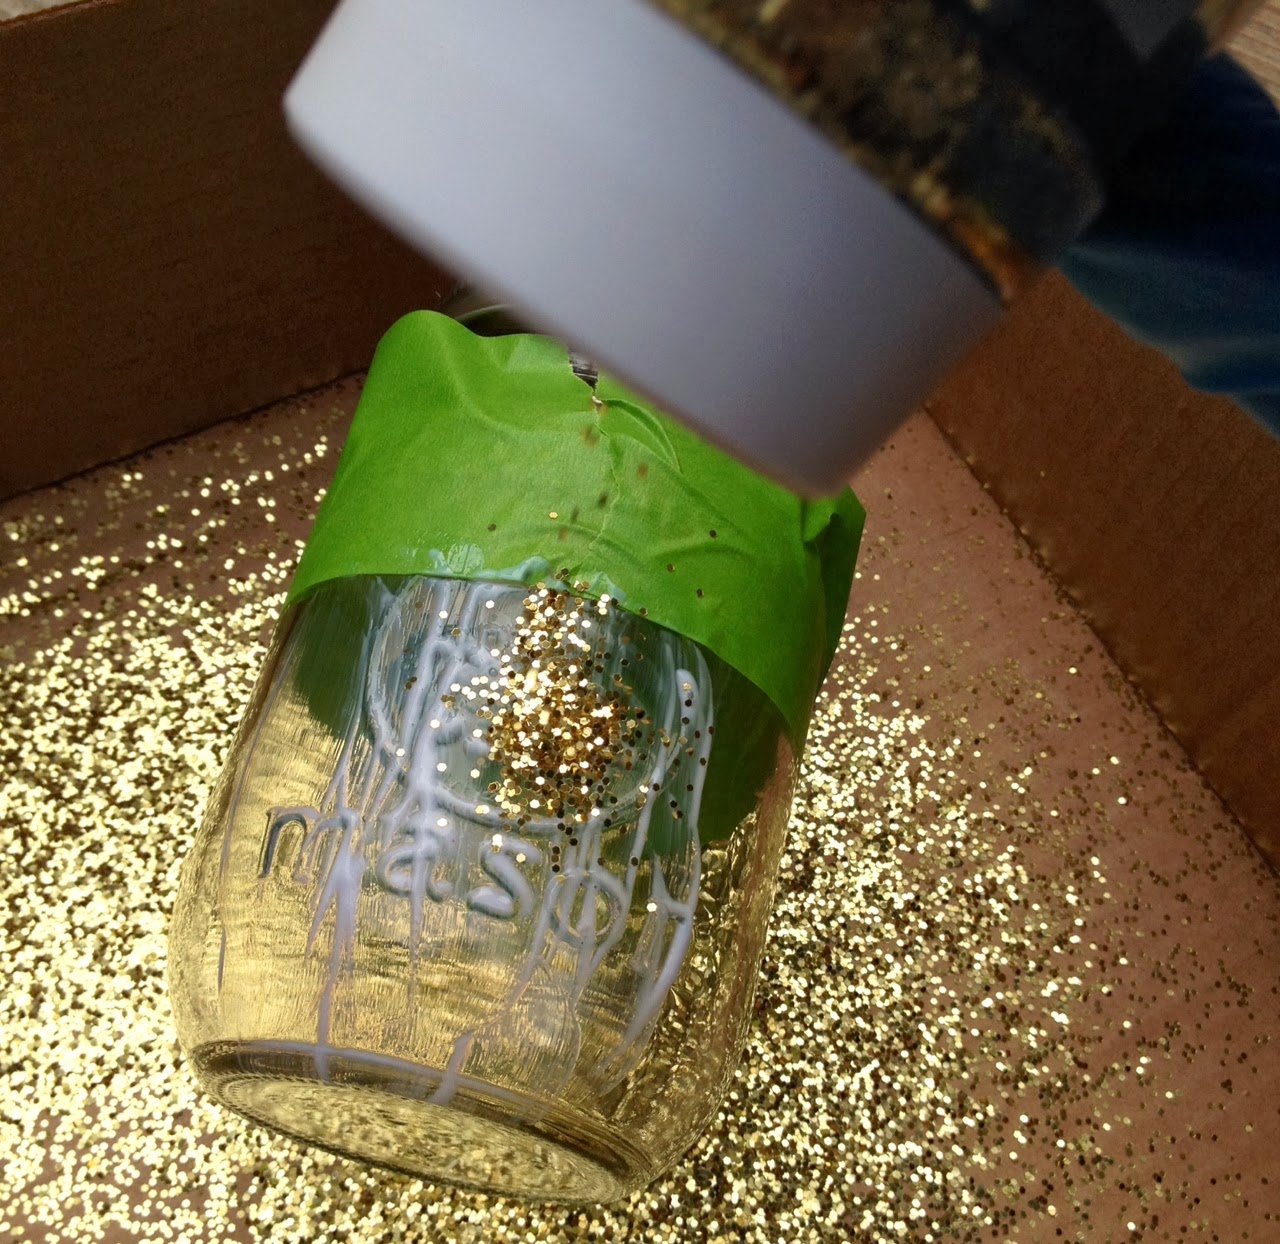
I found a little metal tray in my Mother-in-laws collection of things, I have no idea where it came from but it was a nice size and fit my colours so I grabbed it!  I placed five mason jars filled with bunches of baby's breath on top and filled the rest of the tray with silver jingle bells and clear snowflakes (both from Dollar Giant).  SUPER simple to make!


I decorated the Christmas Tree with silver garland, purple snowflake ornaments (from WalMart) and snowflake ornaments crocheted for the party by my amazing Mom!  Each one is beautiful and truly are beautiful, this picture does NOT do any justice at all!


I crocheted a little Bunting to decorate the fire place (again bad picture), I wanted to decorate for the party and Christmas in one shot, hence "Let it Snow" versus "Happy Birthday".  I followed the instructions from Attic 24 (she seriously has some great projects!) for the triangles, from Moogly for the letters and I'm not sure where the snowflakes came from ... I made soooooo many different ones for the party from so many different places (however I only blocked these ones so I have a bag full of limp snowflakes for next Christmas!!!!), I'm sure you can find some patterns you love with a quick google search!  
I'm actually quite happy with this little bunting and look forward to using it again and again!


Here are the little Cornstarch dough ornaments made by me decorated by the kiddos and adorned with the tags from my last post!
If you haven't tried Cornstarch Dough, you really should!  It does need to be cooked, but it really is simple and is nice to work with!  Want to make some?  Check out The Imagination Tree for instructions.  I gave the kiddies silver and purple sparkle paint and let them go to it!  It was fun to see the differences between the ornaments and they were sooooo excited to help our guests pick out one to take home.


The "Goodie Bags" were very simple, I used to Cornstarch Dough recipe from the Imagination Tree and added about a Tablespoon of Cream of Tarter (it acts as a preservative), a bit of peppermint oil (I just dumped it in, sorry!) and a bunch of glitter.  After kneading it out I popped a little "snow" ball into a small container (Dollar Tree), topped with an ornament (Dollar Tree)


Somehow I missed taking pictures of the Hot Chocolate bar, but did get one of the delicious concoctions whipped up!

Doesn't it look scrumptious!  I made Crock Pot Hot Chocolate topped with Whipped Cream and your choice of toppings including: Crushed Candy Canes, Chopped Score Bars, Gingerbread Oreo crumbs, M&M's, Chocolate Sauce, Butterscotch Sauce, and of course Marshmallows!


All around we had a fun day and enjoyed celebrating the amazing, beautiful, cuddly, happy, precious little Missy we are blessed to call ours!

Thanks for joining me!
~ jenn

Sunday 8 December 2013

Gift Tags

My littlest princess has recently turned one!  We are celebrating this coming Saturday at her "Winter Onederland" party (I know its not actually winter yet, just go with me) and I am planning on sending everyone home with their own little snowflake that I have made out of cornstarch dough (seriously great stuff!) and the kiddies will be painting them in the next few days to make them extra special.  I know they will be beautiful little favors on their own, but I decided to make up some quick little tags to make the gifts more, gift like.


Aren't they cute!?!?!?  These little ditties are very quick to make and would make a wonderful handmade touch to your Christmas (or with a little tweaking birthday) gifts this year!  Want to make some simple tags yourself?  Comm'on you KNOW you want to!  I promise, you'll be so proud delivering your gifts with your own handmade tags!


First you'll need a few things: Heavy Cardstock, Ribbon or String, a Hole Punch or Crop-A-Dile, a Snowflake punch (mine is an old one from Martha Stewart), a Scallop Edge punch (mine is from Stampin' Up!) and a pair of Scissors or a Paper Trimmer.


First, you need to trim down your paper, I cut mine into 2" by 3" rectangles.


Next, trim off the top corners, I didn't actually measure, I just eyeballed the top 1/3 of the rectangle and cut toward the middle on an angle.


Now use your hole punch or Crop-A-Dile to punch a hole in the top


Then, I trimmed the bottom edge with my scallop punch.


Next, punch out a little snowflake (I liked it a little further from the edge then this one shows, but you get the picture)


Finally, thread your ribbon or string through the hole!

That's it!  Six simple steps to wonderful, handmade, tags that will knock the socks off of everyone!  Seriously!  No one expects handmade things anymore so spread some extra cheer this year (enjoy a few complements too!) by adding that special touch!

Thanks for reading!  
~ Jenn

Thursday 28 November 2013

All that glitters!

So I was checking out Pinterest the other day and came across the awesome tutorial on how to make your own glitterized (is that a word) mug that was ... wait for it ... dishwasher safe!!!!!  I quickly checked out Wal-Mart only to find they do not carry the Martha Stewart decopodge line, can you imagine how crushed I was?!?!?!?  I sadly decided that I would not be glitterizing anything until either a)I get to the States and find the glorious dishwasher safe decopodge or b)Wal-Mart eventually carries said decopodge.

Anyway I happened to stop in at Michael's while passing through a neighboring town and guess what I found!!!!!!  Michaels carries the Martha Stewart Decopodge!!!!!  Yay!  I snatched that bottle up and did a mini happy dance (inside my head of course) as I picked out my glitter.  This event gets even better when I got to the check out and found out that the 50% off coupon actually worked on Martha Stewart products that week (they usually are excluded around here).

I was all to eager to get started on my mugs once the kiddos were tucked into bed for the night, because lets face it, three kids and glitter would not be pretty ... well I guess they WOULD be pretty, but not in the way I would appreciate!

Because I'm a fan of the good old redneck Mason jars, I decided to glitter up some of those bad boys!  Want to make some for yourself?  Run, RUN to Michael's and pick up some of the Martha Stewart decopodge in the pink bottle (but not the stuff that is tinted pink!) and either check out white house black shutters or follow along below.  I pretty much followed her verbatim except for swapping out a mug with a mason jar and I added a second coat of glitter because, why not!

First, gather up your supplies.  I used the case my Mason Jars came in and I found it worked really well for collecting excess glitter and because the corners don`t touch it also made a wonderful funnel for replacing excess glitter!


Make sure to clean the surface really well with rubbing alcohol before you start, you don`t anything in the way of you glitter sticking!


Next, tape off where you do not want the glitter to go, unless the free form line is the look you love, then by all means, go with your heart!  I used Frog Tape because that`s what I had already, I`m sure regular making tape would work just fine.


Now decopodge that jar up!  I used a fairly thick coat after the first one, I`m not sure that the thickness really made a difference (I had hopes more glitter would stick), then pour on your glitter.


Now carefully peel off the tape, you don`t want the decopodge to dry on it.


Now repeat, repeat, repeat!  And set the little beauties aside to dry


After letting my first coat dry for a few hours I went back and applied another coat of docopodge and glitter because I felt it was a little too thin after brushing off the excess.  I then added my two sealing coats (with overnight drying between them).  Honestly, aside from finding the proper decopodge in the first part, the hardest part of this project is waiting the 28 days for it to cure!

Go ahead make yourself a glitter mug, I`m sure you`ll love it!

Oh and thanks again to Ann Marie for the inspirational tutorial in the first place!

Monday 25 November 2013

Crochet Wrap Slippers

Do you have a little one (or yourself) with chilly piggies?  Are you looking for a quick and simple project to perfect (or continue) your crocheting skills?  Are you hoping to find a last minute gift from the heart for Christmas?  These slippers will meet all of the above and put a smile on the lucky ducky who gets to warm their tootsies with these little wrap slippers!


My little man has been complaining about chilly piggies since the cooler weather set in and I had been meaning to make him some slippers for a while now but I couldn't find any patterns I liked for little boys (but girly ones ... holy Hanna are there ever some CUTE ones!) so I finally decided that I just needed to come up with my own.  I have seen wrap slippers around for a while now.  I like how simple they are and how easy they are to whip up (less than 2 hours start to finish for me) once the kinks are worked out.  My guy is 4 and wears a toddler size 11 runner (I will add more sizes as I work them up so check back soon!!!!!).

I just want to add, this pattern isn't new (are there really any new patterns out there), I'm sure you can find several around without much effort ... that being said I DID figure out the following pattern and I welcome you to use my pattern however you like but please give credit where credit is due, I ask that you link back to my original post when sharing or selling projects made using this pattern and please use your own photographs (I'm sure you could take better ones anyway).

Now without further adieu .....!

To start you will need some yarn (I used Red Heart Super Saver), a crochet hook (I used a size 5mm), and a tapestry needle.


Begin by crocheting a ch. of 14, turn hdc in the 3rd ch from hook continue across (12 hdc), *turn, ch 2 hdc across.  Repeat from * for 16 more rows (a total of 18 rows), fasten off.  You have now made the sole of you slipper.

Next ch 23, join with a slst to short end of sole, slst across, ch 25 (your work should now look like a T), turn hdc in 3rd ch from hook continue across (58 hdc), *turn, ch 2 hdc across.  Repeat from * for 7 more rows ( a total of 8 rows), fasten off.


The basic shape has been made (YAY!!!), now comes the assembling ...


Fold the right side of the T to the bottom of the sole (toe end), lining up the edges.  I chose to seam using a slst but this could easily be done with your darning needle if that's easier for you.  Begin seaming (either with a slst or sewing with the needle) at the heel end all the way down to the toe end.


Making sure to work through all three layers, continue across the toe.  Once you reach the corner continue seaming only the left side of your work.  Now you'll need to turn your slipper right side out.


You could weave in your ends now, make your second slipper, and call them done ... or you could carefully sew along the center so the wrap doesn't open while your mister is running around in them.  I counted up 15 st from the toe and used my needle and thread to sew along the edge down to the toe.  This step just finished the little slippers off nicely.

For your second slipper, follow the above directions except fold the left side of the T first so you have a right and a left slipper.  If you forget, don't fret, your slippers will still look great, I just think it finishes the pair off nicely!

So there you have it!  An adorable pair of wrap slippers to keep little tootsies toasty warm this winter!  Now go make a pair (or several) for someone you love!

******** Just a little side note, these slippers are SLIPPERY on wood/laminate floors so please be careful.  I will show you have to make them a little less slippery in my next post! ********

Sunday 6 October 2013

Its Fall "Eh"!

I know, I know, the common saying is It's Fall Ya'll, but I live in Canada and, I just don't say "Ya'll" very often.  In the spirit of Fall I wanted to add a little something to my front door.  I'm fairly new to the art of front porch decor, where I live not a lot of people take the time to decorate their porches, growing up our porch was 'decorated' with our garbage cans!  So you can understand why I'm a beginner at this!
 
Here is my first attempt at Fall front porch decor!  I'm still not completely happy with what I've come up with, I think I need to add a few more pumpkins and flowers but its a good start.


I began with the two metal urns, I have no idea where they came from as they were my Mother-in-laws and have been at the front door for years.  Lately they usually house a beautiful selection of local weeds, so I ripped those suckers out and covered the soil with little burlap squares.  I used your regular run of the mill garden shop burlap and cut it to fit.  I sort of tucked in the edges between the pots and urns to keep it in place.  I'm sure this step isn't necessary but it looks a little more like I planned it rather than just let the kids dump some gourds in the dirt!  After covering the soil I ... let the kids put some gourds on top of the BURLAP!  Each urn has two gourds and one small pumpkin.
 
 
Next I popped some little pumpkins on the ledges of my plant ladder my amazing hubby built for me years ago.  It's about six feet tall and has three copper rungs (one day they will oxidise!) and three plant ledges.  I think I will add some small plants to this as well, it seems a little bare to me.  After Thanksgiving I plan to paint BOO on the pumpkins to change up the decor and make it more Halloween-ish (Canada has Thanksgiving this year on the 14th of October).


I purchased my beautiful Mums from Wal-Mart a few weeks ago for $9!  A total steal!  I originally had them sitting in the plastic brown pot, but it looked, well, drab!  I had a quick look around and came across the MUCH prettier ivory pot and ever so cleverly placed the plastic into the pretty pot and voila!  Beauty by the front door!  The pumpkin, was expertly placed in front by my four year old son!  He likes to have jobs to do!
 
 
Finally the "Give Thanks" tags were hung on the door.  I saw something similar on Pinterest, but didn't pin it for some reason.  I liked the idea and did my best to duplicate them ...

 
I can use power tools, I know how to use power tools, and if necessary I will use those power tools, but I'm not a fan of the saws.  That being said, my hubby was home so I drew out what I wanted and gave him the task to cut out the tags a few days before he had to leave for work.  A few hours before he had to leave he came in the house with the above 'tags', they weren't exactly how I had drawn/explained (I wanted more tag and less arrow) but I thanked him and asked him, maybe when he cuts out the ones for Halloween he could look a little closer at my drawing, he said he would try!
 
Regardless, I'm very happy with my tags and they really were simple to make!
 
We began with left over deck boards, I had one cut to 9" and the other to 14".  Then the corners were cut off the top 2" to make a point (grrrr).  I then used a 1/2" bit to drill hanging holes about 1" from the top in the centre of the point.
I then mixed a white and a brown craft paint together to make an ivory (had I had ivory on hand I would have just used that) and painted the tags on all sides and edges.  The lettering was done with the same colours used to make the ivory, I just used a lot more brown and a lot less white. 
I wanted something a little nicer than my usual handwriting to dress up the tags so I searched some free fonts and found janda stylish script, I typed out Give Thanks on my computer in landscape in size 205 and printed it out.  I placed the pages right-side up on my painted tags and then traced the outside edges of the letters with a sharp pencil (I'm sure a ball point pen would work as well).  This left a faint indent on the wood I was able to see well enough to use as a outline to fill in.
Finally I cut a strip of Burlap about 3/4" wide by about 6' long.  I folded it in half to make a double layer 'rope' I threaded through the holes and tied a knot in the ends and trimmed the excess to a nice length . 
My final step was to put a screw through the back to keep the Give tag from hanging directly in front of the Thanks tag.  I just decided where I liked the looks of the overlap and drilled a screw through the back ... and my Thanks tag cracked!!!  So, before you throw a screw in, please, take the time to drill a pilot hole!!!!.
 
So there you go, that's how I decorated my front porch so far this fall.  What about you?  Do you decorate your front porch/door?

I'm still here!

So I am clearly not a frequent poster!  I promise I have big plans for this little blog, I guess it's just hard to find a place to start.  At first I blamed my lack of posting on my broken camera (who wants to read a picture-less blog??), but I got a shiny new camera almost a year ago ... I guess that excuse is void!  Why the lack of posts then?  I think I'm afraid no one will read this!  I mean really, who wants to go through the trouble if no one takes notice?  Anyway I think I will try this and see how it works out, my plan is to get a few pictures and start out slow (I have a ton of things I do and think 'I could totally make this my first real blog post!' ... and then ... nothing!), maybe a post a month, once I have that under control I'm sure I could be more frequent!

Again I ask you all to wish me luck, who knows, maybe one day the imaginary people I'm writing to today will actually read this!  A girl can dream right!

Oh, and for those who are wondering, I made the jar pies and yum!  They were great!  I wouldn't recommend them if you're not a fan of pastry because the filling to pastry ratio is low, but I enjoyed them!